Copycat Nando’s PERi PERi Sauce
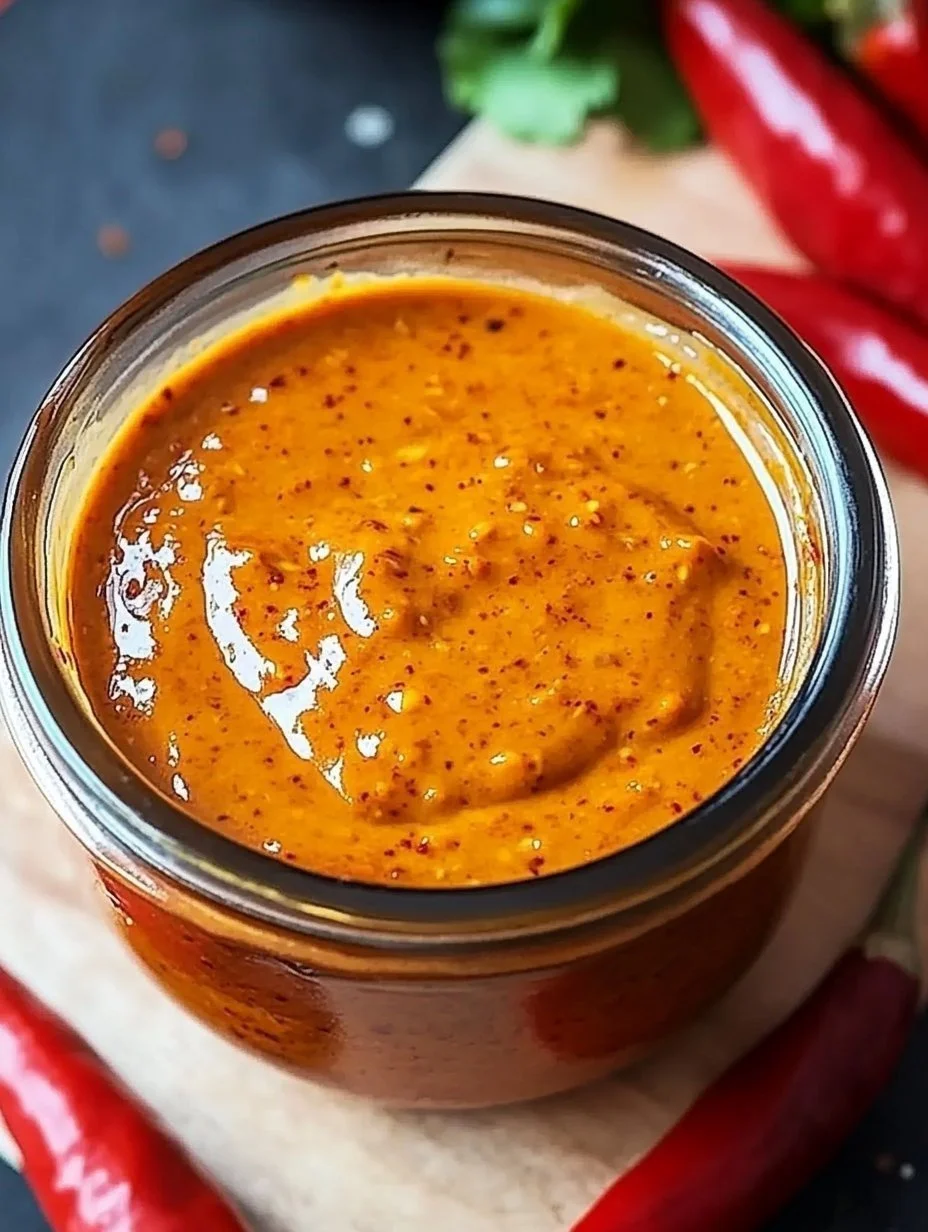
Are you craving a vibrant, spicy kick to elevate your meals? Look no further than this Copycat Nando’s PERi PERi Sauce. This tantalizing sauce captures the bold flavors of Nando’s famous creation, delivering heat and a rich garlic punch that can transform any dish. Whether you’re grilling chicken, mixing it into a marinade, or simply drizzling it over roasted vegetables, this sauce is sure to become your go-to for adding excitement to your meals.
This homemade version is not only easy to make but also allows you to customize the heat level to your liking. With fresh chili peppers, zesty lemon juice, and aromatic garlic, it’s a winning combination that you won’t want to miss!
What Makes This Recipe So Good
This recipe stands out for several reasons. First, it’s incredibly simple to prepare. You can whip it up in just a matter of minutes, thanks to the straightforward blending process. There’s no need to cook for hours or follow complicated techniques; just gather your ingredients and blend them together.
Second, it’s budget-friendly. Most of the ingredients are staples you probably already have at home, which means you won’t need to break the bank to enjoy a deliciously spicy sauce. Additionally, it’s a great way to use fresh ingredients that can elevate your cooking without extra fuss.
Finally, this copycat recipe means you can adjust the spice levels according to your preferences. Want it a bit milder? Use fewer chili peppers or add a teaspoon of honey. Like it fiery? Toss in an extra pinch of cayenne pepper. This recipe is all about versatility, making it perfect for everyone!
Overview of Cooking Process
Creating this sauce can be broken down into just a few simple steps. You’ll start by preparing your choice of chili peppers, whether they are fresh or dried. If they’re fresh, just clean and chop them; if they’re dried, a quick soak in hot water will do the trick.
Next, gather all your ingredients, including garlic, olive oil, vinegar, lemon juice, smoked paprika, and cayenne pepper. Throw them into a blender or food processor and blend these ingredients until you achieve a smooth consistency. If the mixture seems too thick, simply add a bit of water or more olive oil to reach your desired texture.
Once the sauce is blended, take a moment to taste and adjust the flavors as needed. You can simmer the sauce to deepen the flavor, but it’s not required. After cooling, store it in the refrigerator, and you’re all set to enjoy this flavorful addition to your meals!
Ingredients
Before you dive into making your own PERi PERi Sauce, here’s what you’ll need:
- Prep time: 10 minutes
- Cook time: 7 minutes (optional)
- Total time: 17 minutes
- Servings: Approximately 1 cup
- 4 red chili peppers (fresh or dried)
- 4 cloves garlic, minced
- ¼ cup olive oil
- 2 tablespoons red wine vinegar
- 1 tablespoon lemon juice
- 1 tablespoon smoked paprika
- 1 teaspoon ground cayenne pepper
- Salt, to taste
- Optional: 1 teaspoon honey or sugar
Step-by-Step Instructions
Now that you have your ingredients, let’s move on to the process. Follow these easy steps to create your sauce:
- Prepare the chili peppers: If you’re using fresh chilies, cut off the stems and remove the seeds for less heat. If you prefer dried chilies, soak them in hot water for 10 minutes until they soften, then drain.
- Blend the ingredients: In a blender or food processor, combine the prepared chili peppers, minced garlic, olive oil, red wine vinegar, lemon juice, smoked paprika, cayenne pepper, and a pinch of salt. Blend until smooth. If the mixture feels too thick, add a tablespoon of water or olive oil to achieve your desired consistency.
- Adjust the flavor: Taste your sauce, and if necessary, tweak it by stirring in more salt, lemon juice, or if you like it sweeter, a touch of honey or sugar. Finding the perfect balance is key!
- Cook the sauce (optional): For those who want a deeper flavor, transferring the blended sauce to a small saucepan and simmering it over low heat for 5-7 minutes can add complexity. After simmering, let it cool before using.
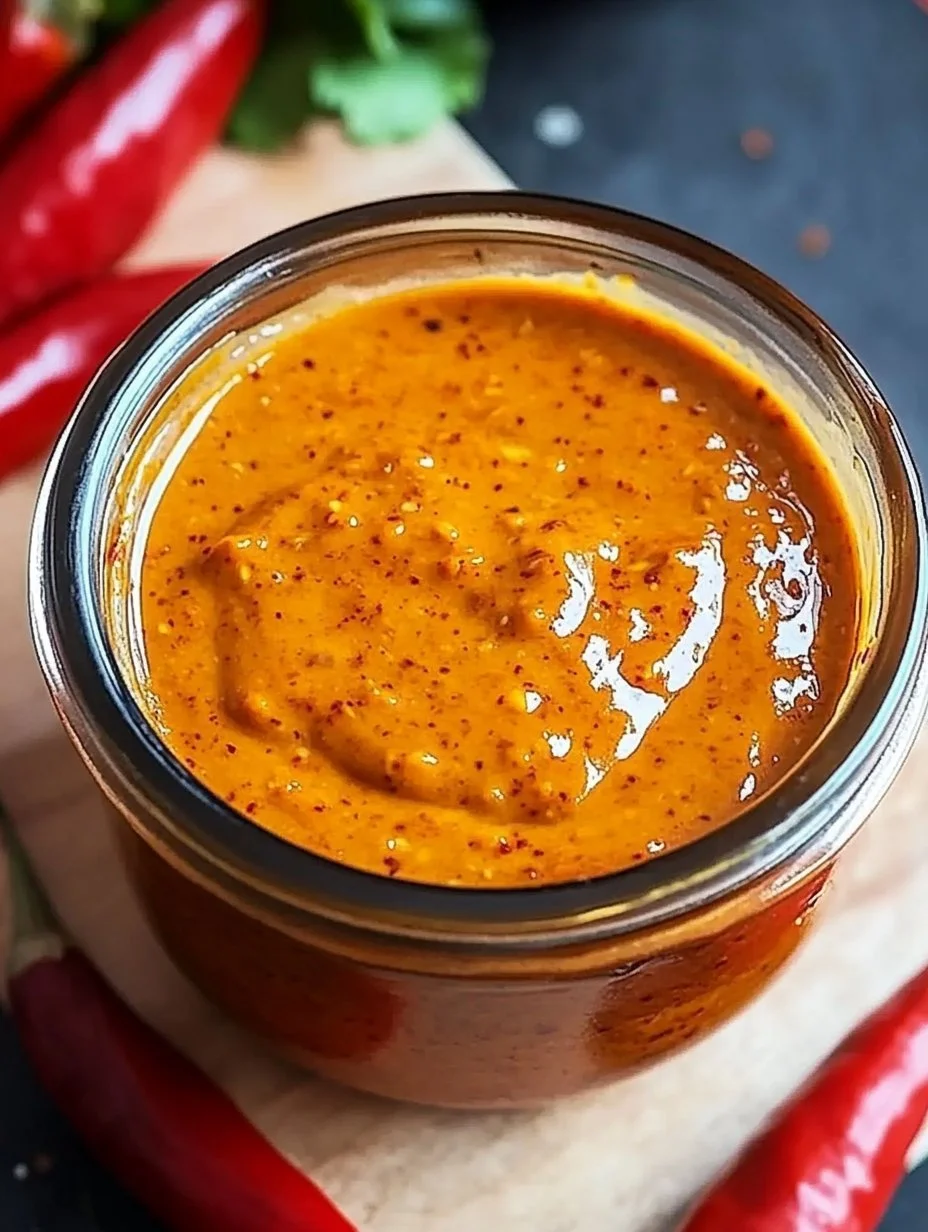
- Store and use: Pour the sauce into a clean jar and store it in the refrigerator. This homemade PERi PERi sauce keeps well for up to 2 weeks, ensuring you have spicy goodness whenever you want!
Delicious Ways to Serve This Sauce
Now that your sauce is ready, let’s talk about how to use it. This versatile PERi PERi sauce can elevate many dishes:
- Grilled Meats: This sauce pairs perfectly with grilled chicken, pork, or shrimp, infusing them with bold flavors.
- Marinade: Use it as a marinade for meats or tofu before grilling or roasting to enhance the taste.
- Vegetable Dishes: Drizzle over roasted vegetables or stir it into vegetable stir-fries for an extra kick.
- Sandwiches and Wraps: Add some to your favorite sandwiches, burgers, or wraps to spice things up.
- Dips: Serve as a dipping sauce alongside fries or veggies for a zesty alternative.
How to Store Your Sauce
To keep your homemade PERi PERi sauce fresh, store it in an airtight container or a clean jar with a tight-fitting lid in the refrigerator. Properly stored, the sauce can last for up to two weeks. Just remember to give it a good shake before using to mix any separated ingredients.
If you want to keep it for an extended period, you can freeze it. Pour the sauce into ice cube trays to freeze in small portions. Once frozen, pop the cubes into a zip-top bag and store them in the freezer. This way, you can grab just the right amount whenever you need a hit of flavor!
Expert Tips for Success
Here are some tips to ensure your PERi PERi sauce turns out delicious each time:
- Control the Heat: The heat level of your sauce depends largely on the type and amount of chili peppers you choose, so adjust accordingly based on your spice tolerance.
- Fresh Ingredients: Use fresh garlic and quality olive oil for the best flavor. Fresh ingredients make a significant difference in the overall taste.
- Taste as You Go: The beauty of this sauce is in its adaptability. Make small adjustments throughout the process, tasting regularly for your preferred flavor profile.
- Don’t Overblend: Blend just until smooth. Overblending can make the sauce warm, which may alter the desired taste and texture.
Exciting Variations to Try
Feel free to experiment with this recipe to suit your taste preferences:
- Different Peppers: Try using different varieties of chili peppers like jalapeños for a milder version or habaneros for more heat.
- Herbs and Spices: Consider adding fresh herbs like cilantro or parsley for a refreshing twist. Alternatively, explore other spices like cumin or coriander for unique flavors.
- Add Fruits: For a sweet and spicy flavor, blend in some mango or pineapple. These fruits add a delicious sweetness that complements the spice well.
- Nuts: For a creamier consistency, try adding a few roasted nuts like cashews or almonds into the blend.
Frequently Asked Questions
1. Can I make this sauce without blender?
No worries if you don’t have a blender! You can finely chop the ingredients and mix them by hand for a chunky version.
2. How spicy is this sauce?
The spice level varies based on the type of chilies used and personal preference. Feel free to adjust the quantity to match your heat tolerance!
3. Is it possible to can this sauce for long-term storage?
This recipe isn’t designed for canning, but it lasts up to two weeks in the refrigerator. Any attempts at canning should follow safe guidelines to ensure quality.
4. What do I do if my sauce is too spicy?
If the sauce is too spicy for your liking, add more olive oil or honey to balance the heat. This can create a smoother, sweeter blend.
5. Can I use this sauce for marinades?
Absolutely! This sauce works wonderfully as a marinade. Simply soak your protein of choice in it for flavor-packed results.