Fruity Pebbles Cheesecake Tacos
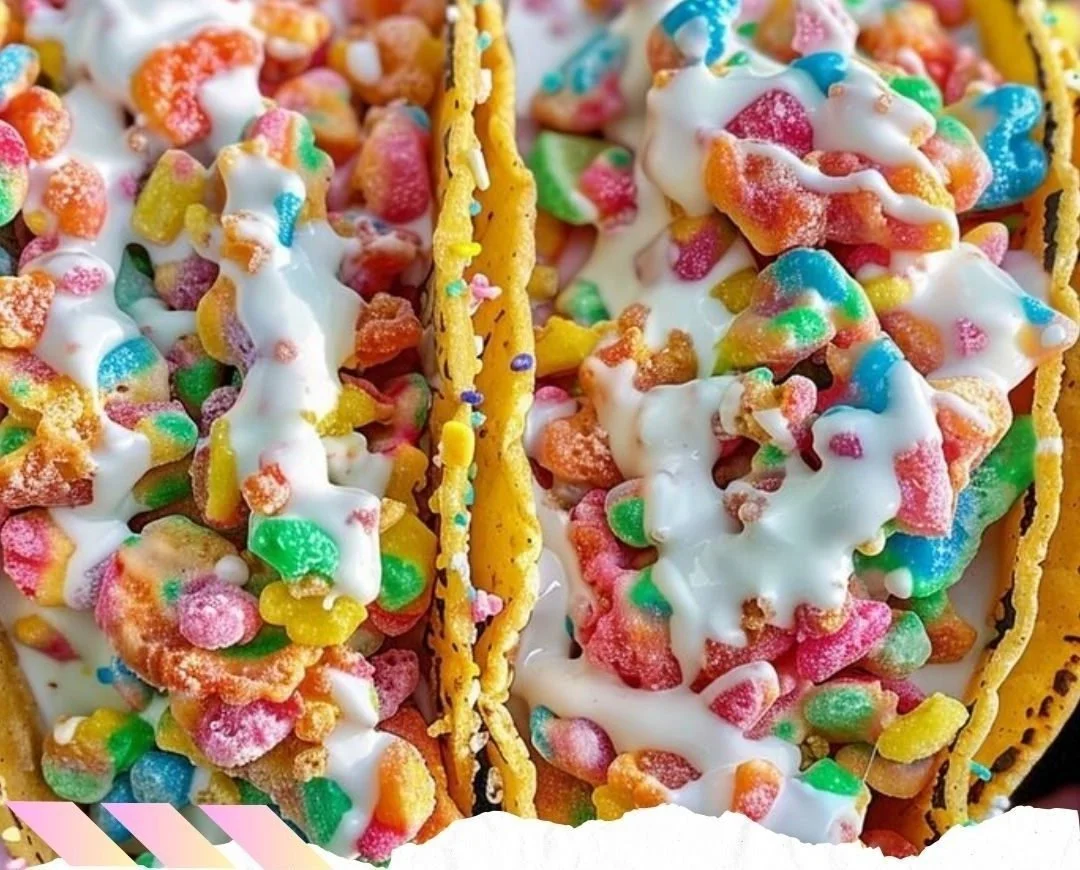
Welcome to a fun and delightful culinary adventure! If you’re looking for a dessert that not only tastes incredible but also sparks joy and nostalgia, look no further than these Fruity Pebbles Cheesecake Tacos. This whimsical dish combines the beloved flavors of fruity cereal and creamy cheesecake into a handheld treat. Perfect for parties, family gatherings, or just a sweet treat to brighten your day, these tacos are bound to be a hit. Get ready to indulge in a dessert that’s as delicious as it is visually exciting!
What Makes This Recipe So Irresistible
Fruity Pebbles Cheesecake Tacos stand out for several reasons. First, they are incredibly easy to prepare, making them perfect for bakers of all skill levels. You can whip these up in no time using just a microwave and a mixing bowl, freeing you from hours spent in the kitchen. Additionally, they are versatile and budget-friendly, too. With a handful of ingredients, you can create a show-stopping dessert that everyone will love. These tacos are not only delicious but also bring a sense of fun to your dessert table!
A Simple Breakdown of the Cooking Process
This delightful recipe comes together in a few simple steps. First, you’ll make the taco shells by melting Fruity Pebbles and mini marshmallows together, and then shaping them into taco-like forms. Once they’re set, the real fun begins as you prepare a creamy cheesecake filling. Blending cream cheese, marshmallow creme, and a touch of sweetness, you’ll fill the taco shells with this luscious mixture. After chilling in the fridge for the filling to firm up, your beautiful tacos will be ready to serve and enjoy!
Ingredients
Prep Time: 15 minutes
Cook Time: 5 minutes
Total Time: 1 hour 20 minutes
Servings: 12 tacos
- 3 ½ cups Fruity Pebbles Cereal
- 3 cups mini marshmallows
- 2 tablespoons unsalted butter
- 16 oz cream cheese, softened
- ¼ cup powdered sugar
- 1 tsp vanilla
- 7 oz tub marshmallow creme
- 1 ½ cup cereal, lightly chopped
The key components of these tacos are the Fruity Pebbles and cream cheese. The cereal gives a vibrant, fruity flavor and a delightful crunch, while the cream cheese creates a rich, smooth filling that pairs perfectly with the crispy shells.
Step-by-Step Instructions
- In a large microwave-safe bowl, combine the Fruity Pebbles, mini marshmallows, and unsalted butter. Microwave on high for 2-3 minutes until the marshmallows start to expand. Keep a close eye on the mixture to prevent it from overflowing.
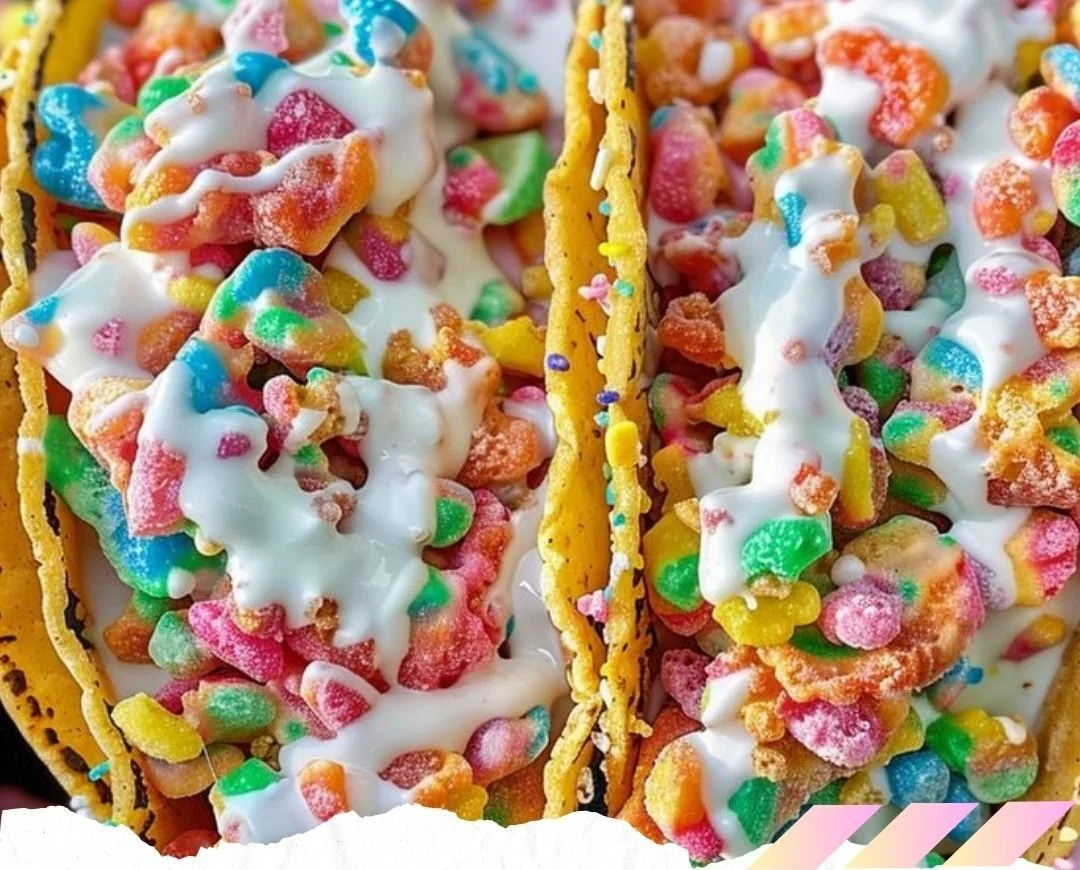
- Quickly stir the mixture until all the cereal is evenly coated with the melted marshmallows and butter. While still warm, spoon the mixture into taco shell molds or form small taco shapes by draping over a narrow rolling pin. Allow to cool and set until firm; this should take about 10-15 minutes.
- For the filling, in a large mixing bowl, blend the softened cream cheese with powdered sugar and vanilla until smooth. Using a hand mixer will make this process easier. Fold in the marshmallow creme gently to maintain its fluffiness, and then mix in the additional chopped cereal for added texture.
- Carefully spoon or pipe the cheesecake filling into the cereal taco shells. To avoid a mess, use a zip-top bag with the corner cut off for piping. Chill in the refrigerator for at least 1 hour to firm up the filling before serving.
- Optionally, garnish the tacos with extra Fruity Pebbles or colorful sprinkles for an extra festive touch!
Creative Ways to Serve These Tacos
These colorful cheesecake tacos are perfect on their own, but you can elevate their presentation by serving them with some fun side options. Consider pairing them with fresh fruit like berries or a scoop of vanilla ice cream for a delightful contrast. These tacos are great for birthday parties, kids’ celebrations, or any gathering where you want to bring a smile. Serve them on a colorful platter with some extra Fruity Pebbles scattered for visual appeal!
How to Store and Reheat
To keep your tacos fresh, store them in an airtight container in the refrigerator for up to 3 days. They are best enjoyed within the first couple of days to maintain the crispness of the taco shells. If you want to keep them longer, you can freeze the assembled tacos in a freezer-safe container. However, it’s best to freeze the taco shells separate from the filling to avoid sogginess. Reheating isn’t necessary since they are best enjoyed cold, but if you prefer them slightly warmed, let them sit at room temperature for about 10-15 minutes before serving.
Expert Tips for Success
Here are some practical tips to ensure your Fruity Pebbles Cheesecake Tacos turn out perfect:
- Be sure to coat the cereal well with the melted marshmallow mix for desirable taco shapes.
- Don’t skip the chilling time! This step is essential for the filling to set correctly.
- Use a light touch when folding in the marshmallow creme to keep the filling airy.
- Try to make the taco shells uniform in size for a neater presentation.
Delicious Variations to Try
This recipe is quite adaptable, so feel free to get creative! Here are some delicious variations you can try:
- For a chocolate twist, substitute Cocoa Pebbles for some or all of the Fruity Pebbles.
- Add fun flavorings to your filling, like lemon zest or a splash of orange extract, for a citrusy kick.
- Incorporate mini chocolate chips or crushed candy for extra texture and sweetness.
- For a healthier version, consider using yogurt instead of cream cheese for the filling.
Your Questions Answered
How do I know if my taco shells are set? The taco shells should feel firm and hold their shape when cooled completely.
Can I use different flavors of cereal? Absolutely! Try varying your cereal choice to discover new flavor combinations.
Is it necessary to use marshmallow creme? While it adds sweetness and fluffiness, you can try creamy yogurt or whipped cream as alternatives.
Can these tacos be made ahead of time? Yes! They can be stored in the fridge for up to 3 days.
What can I do with leftover ingredients? Use them in other desserts, or mix the extra filling into brownie batter or atop cupcakes for added flair!