Pumpkin Pie Bars
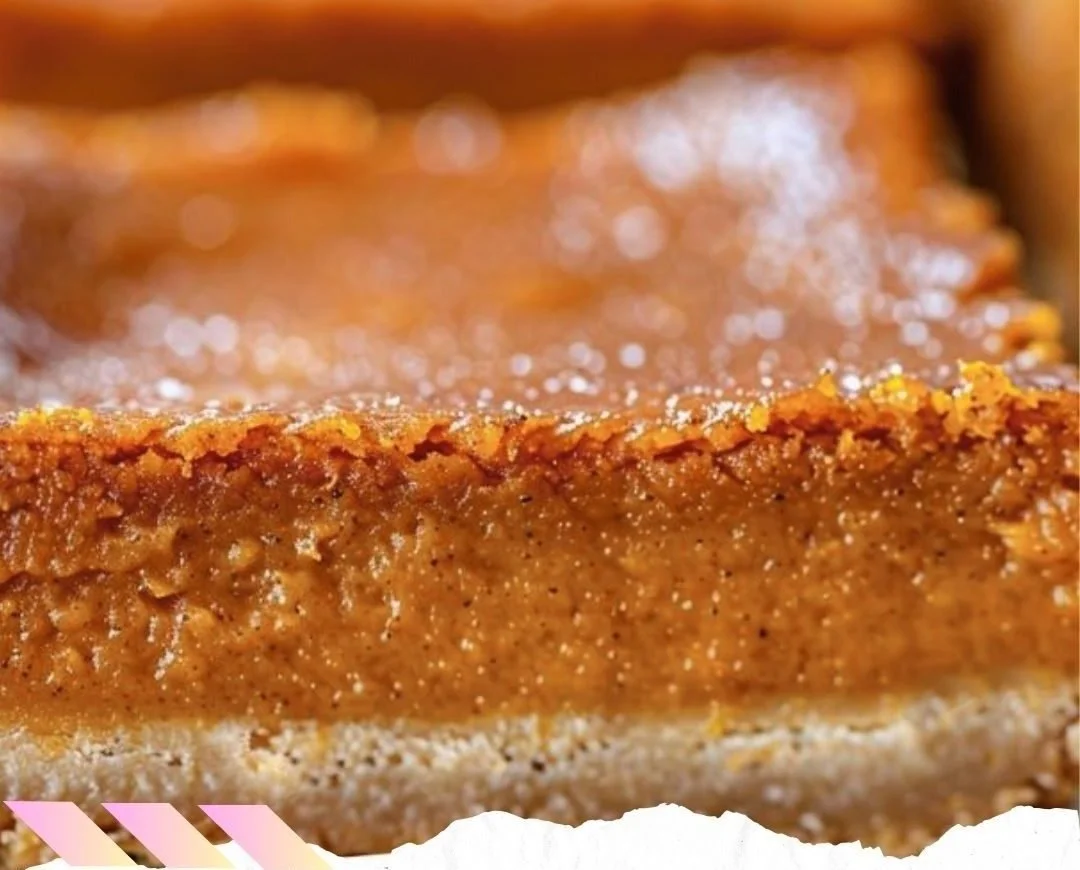
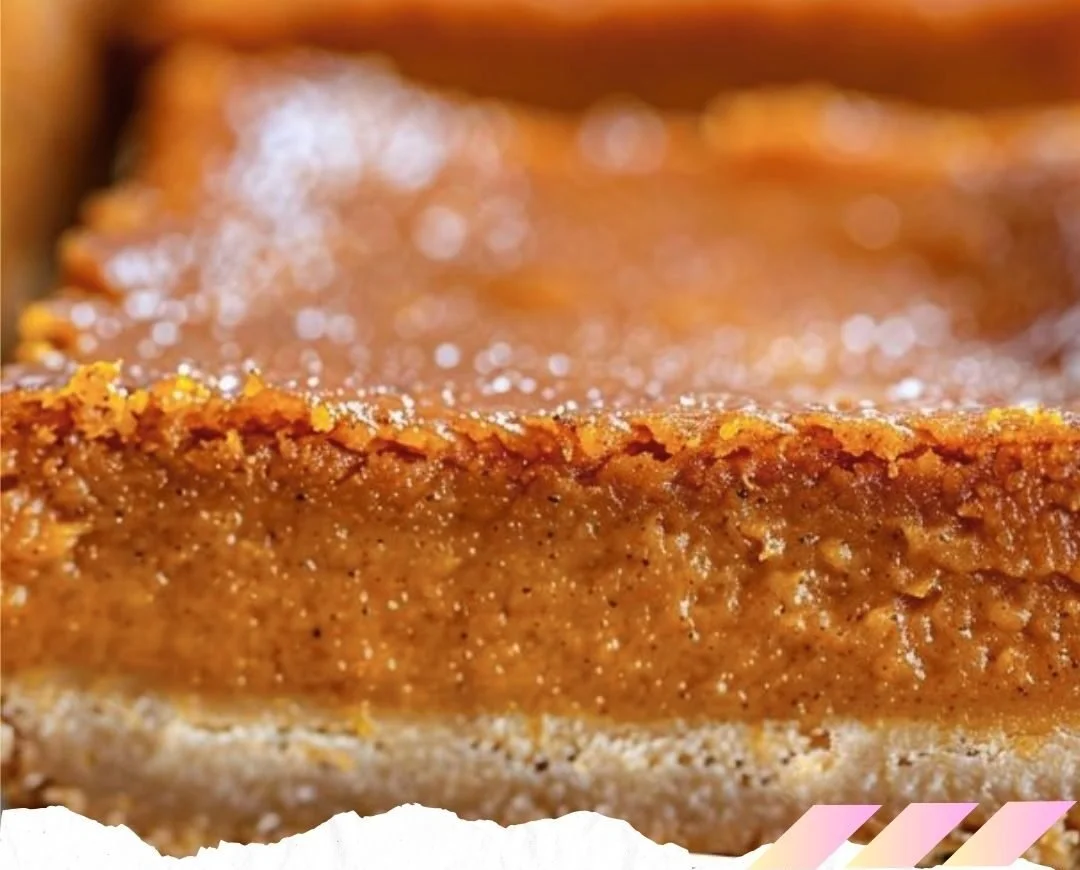
If you’re looking for a delightful treat that embodies the flavors of fall, look no further than these Pumpkin Pie Bars. These bars are a wonderful twist on the classic pumpkin pie, offering all the rich, spiced goodness you love, but with a buttery cake crust that’s simple to make. Whether you’re preparing for a festive gathering or just want a comforting dessert to enjoy at home, these bars will not disappoint. They are easy to whip up, budget-friendly, and perfect for sharing with friends and family.
What Makes This Recipe Special
This pumpkin pie bar recipe is incredibly approachable, even for novice bakers. With just a handful of ingredients and minimal prep time, you can create a stunning dessert that’s sure to impress. The yellow cake mix serves as a quick base for the crust, while the combination of pumpkin puree and sweetened condensed milk creates a creamy, luscious filling. What’s more, these bars bake reliably each time, making them a fantastic choice for holiday festivities and potlucks.
Summary of the Cooking Process
This straightforward recipe involves preparing a flavorful crust from yellow cake mix combined with melted butter. While that bakes to golden perfection, you’ll mix together the creamy pumpkin filling using just three simple ingredients. Once layered, the bars are baked until the filling is set, then cooled and cut into decadent squares. Each bite delivers a harmonious blend of spices and sweetness, making it hard to resist going back for more!
Ingredients
- Prep Time: 10 minutes
- Cook Time: 45-50 minutes
- Total Time: 55-60 minutes
- Servings: 12
- 1 package (15.25 ounces) yellow cake mix
- ½ cup unsalted butter, melted
- 1 can (15 ounces) pumpkin purée
- 1 can (14 ounces) sweetened condensed milk
- 2 teaspoons pumpkin pie spice
The yellow cake mix makes the crust quick and hassle-free. Pumpkin puree contributes moisture and rich flavor, while sweetened condensed milk adds the perfect amount of sweetness and creaminess. The pumpkin pie spice ties it all together, providing that delightful autumn flavor.
Step-by-Step Instructions
Let’s dive into the simple process of making these delicious pumpkin pie bars:
1. Preheat your oven to 350°F (175°C). This ensures that your bars bake evenly.
2. Grease a 9×13-inch baking dish or line it with parchment paper. Lining your dish will make it a breeze to remove the bars once they are baked.
3. In a large bowl, combine the cake mix and melted butter. Mix until the batter is well combined and looks crumbly.
4. Press this mixture evenly into the bottom of your prepared baking dish to create a solid crust. A sturdy foundation is key to prevent the filling from seeping through.
5. In a separate bowl, mix together the pumpkin purée, sweetened condensed milk, and pumpkin pie spice until smooth and fully combined. This is where the magic happens as the flavors meld together beautifully.
6. Pour the pumpkin filling over the crust in the baking dish, spreading it out evenly to ensure every bite is delicious.
7. Bake in the preheated oven for 45-50 minutes, or until the filling is set. You can check this by inserting a knife into the center; if it comes out clean, your bars are ready!
8. Once they are removed from the oven, allow the bars to cool completely in the baking dish. This cooling time is essential for them to hold their shape when you cut them.
9. After they’ve cooled, cut the pumpkin pie bars into squares or rectangles to serve. You can garnish them with a dollop of whipped cream for a festive touch.
Creative Ways to Serve Pumpkin Pie Bars
These pumpkin pie bars are versatile and can be enjoyed in multiple ways:
- Serve them warm with a scoop of vanilla ice cream for a comforting dessert.
- Pair them with a cup of spiced chai or coffee for a delightful afternoon snack.
- They make a fantastic addition to any holiday dessert table, adding color and warmth.
- For a family gathering, consider arranging them on a platter with some festive decorations for extra flair.
How to Store and Reheat Pumpkin Pie Bars
To keep your pumpkin pie bars fresh and delicious:
- Store any leftovers in an airtight container in the fridge for up to a week.
- For longer storage, you can freeze the bars. Just wrap them tightly in plastic wrap or aluminum foil and place them in a freezer-safe container. They can last up to 3 months in the freezer.
- To reheat, simply thaw in the refrigerator overnight and then warm them in the microwave for a few seconds or in the oven at a low temperature until heated through.
Pro Tips for Baking Success
Here are some useful tips to ensure your pumpkin pie bars turn out perfectly:
- Make sure to use pure pumpkin puree, not pumpkin pie filling, to get the right texture and flavor.
- Don’t overmix the crust ingredients; it should remain crumbly.
- Check your ovens; some may run hotter than others, so start checking for doneness a few minutes early.
- Let the bars cool completely before cutting them to avoid a messy presentation.
Delicious Variations to Try
If you want to mix things up, consider these variations:
- Add a layer of chocolate chips or chopped nuts into the crust for added texture and flavor.
- Substitute the pumpkin puree with sweet potato puree for a twist on the classic.
- Incorporate a cream cheese layer between the crust and filling for a richer taste.
- Experiment with other spices or add a dash of vanilla extract to the pumpkin filling for extra depth.
Frequently Asked Questions
Can I use homemade pumpkin puree?
No problem! Homemade pumpkin puree is a great option for this recipe.
How do I know when the bars are done baking?
When a knife inserted into the center comes out clean, they are ready.
Can I make these in advance?
Absolutely! These bars store well and can be made a day or two ahead of time.
Can I substitute the cake mix?
While the yellow cake mix is recommended for convenience, you may experiment with a homemade cake recipe or a gluten-free mix.
What’s the best way to cut the bars?
Use a sharp knife, and for cleaner cuts, wipe it with a damp cloth between slices.