Stuffed Cheesecake Fried Apple Pies
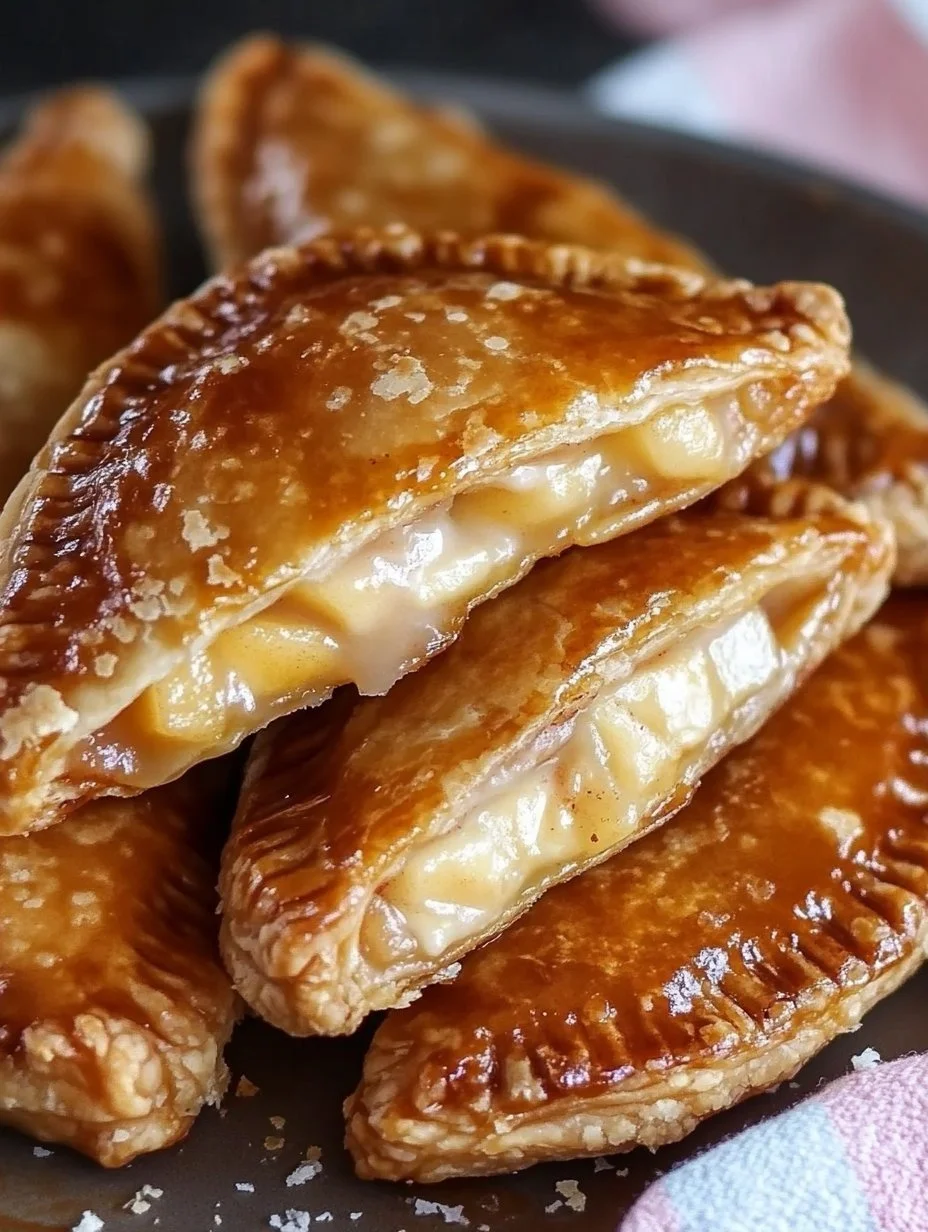
If you’re looking for a delightful dessert that combines the goodness of apples and the rich, creamy flavor of cheesecake, then you’re in for a treat with these Stuffed Cheesecake Fried Apple Pies! This recipe is a delightful twist on traditional apple pies, offering a crispy exterior and a warm, gooey filling that is simply irresistible. Each bite is packed with sweet and spiced apples layered over a smooth cheesecake base, all encased in a golden, flaky crust.
Perfect for gatherings, potlucks, or simply satisfying your sweet tooth, these fried apple pies are sure to impress your family and friends. They’re not only delicious but also easy to make, allowing you to enjoy homemade goodness without all the fuss. Dive into this recipe and treat yourself to a pastry that brings comfort and joy in every bite!
What Makes This Recipe So Good
This recipe stands out for several reasons. First, it combines two beloved desserts into one delightful package. The fusion of classic apple pie flavors with the creamy richness of cheesecake is nothing short of awesome. The crispy fried dough adds an exciting texture contrast with the soft, luscious filling.
Moreover, it’s relatively easy to make, even for beginner cooks! The steps are straightforward and quick, which means you can whip these up when the craving hits. It’s perfect for those weekends when you want to impress without spending hours in the kitchen. Additionally, being a fried treat allows for a fun hands-on cooking experience that can be enjoyed with family or friends!
Simple Overview of Cooking Process
This delicious dessert comes together in a few simple steps. You will start by preparing the apple pie filling, cooking diced apples with butter, sugar, and fragrant spices until tender. While that cools, you’ll mix up a quick cheesecake filling that pairs beautifully with the apples.
Next, you will assemble the pies by layering the cheesecake and apple filling onto small rounds of dough. After sealing and crimping the pies, they’re fried to a golden hue, creating that delightful crunch we all love. Finally, a sweet glaze drizzled on top adds that finishing touch, making each pie a treat for the eyes as well as the taste buds!
Ingredients
Prep Time: 20 minutes
Cook Time: 20 minutes
Total Time: 40 minutes
Servings: 10-12 pies
- 2 cups diced apples (Granny Smith or Honeycrisp)
- 2 tablespoons unsalted butter
- ¼ cup brown sugar
- 1 teaspoon ground cinnamon
- ½ teaspoon nutmeg
- 1 teaspoon cornstarch dissolved in 1 tablespoon water
- 1 teaspoon vanilla extract
- 8 oz cream cheese, softened
- ¼ cup powdered sugar
- ½ teaspoon vanilla extract
- 10-12 refrigerated or homemade pie crust rounds (small, 4-5 inches in diameter)
- 1 egg (for egg wash)
- Oil for frying (vegetable or canola)
- 1 cup powdered sugar
- 2-3 tablespoons milk
- ½ teaspoon vanilla extract
For a crisp, flaky crust, feel free to use store-bought pie crust or make your own if you’re feeling adventurous! Fresh apples provide the best flavor, but you can use canned pie filling in a pinch if you’re short on time.
Step-by-Step Instructions
1. Prepare the Apple Pie Filling: Begin by melting the butter in a skillet over medium heat. Add the diced apples along with brown sugar, ground cinnamon, and nutmeg. Stir everything together to ensure the apples are coated in the mixture. Allow this to cook for about 5-7 minutes or until the apples are softened and fragrant.
Next, add the cornstarch-water mixture to the skillet and cook for an additional 1-2 minutes until the filling thickens. Once done, remove from heat and stir in the vanilla extract. Set this filling aside to cool.
2. Prepare the Cheesecake Filling: In a medium-sized bowl, take your softened cream cheese and beat it with the powdered sugar and ½ teaspoon of vanilla extract until smooth and creamy. This mixture should be lump-free and velvety. For ease of use, transfer the cheesecake filling to a piping bag or a spoon for filling later.
3. Assemble the Pies: Grab your pie crust rounds and place them on a clean work surface. In the center of each round, place a small amount (about 1-2 teaspoons) of the cheesecake filling. Then top it off with a spoonful of the cooled apple pie filling.
Brush the edges of the pie crust with a little egg wash to help seal the edges. Fold the dough over to create a half-moon shape, pressing down to seal the edges well. Use a fork to crimp the edges for a decorative touch and to ensure they are well sealed.
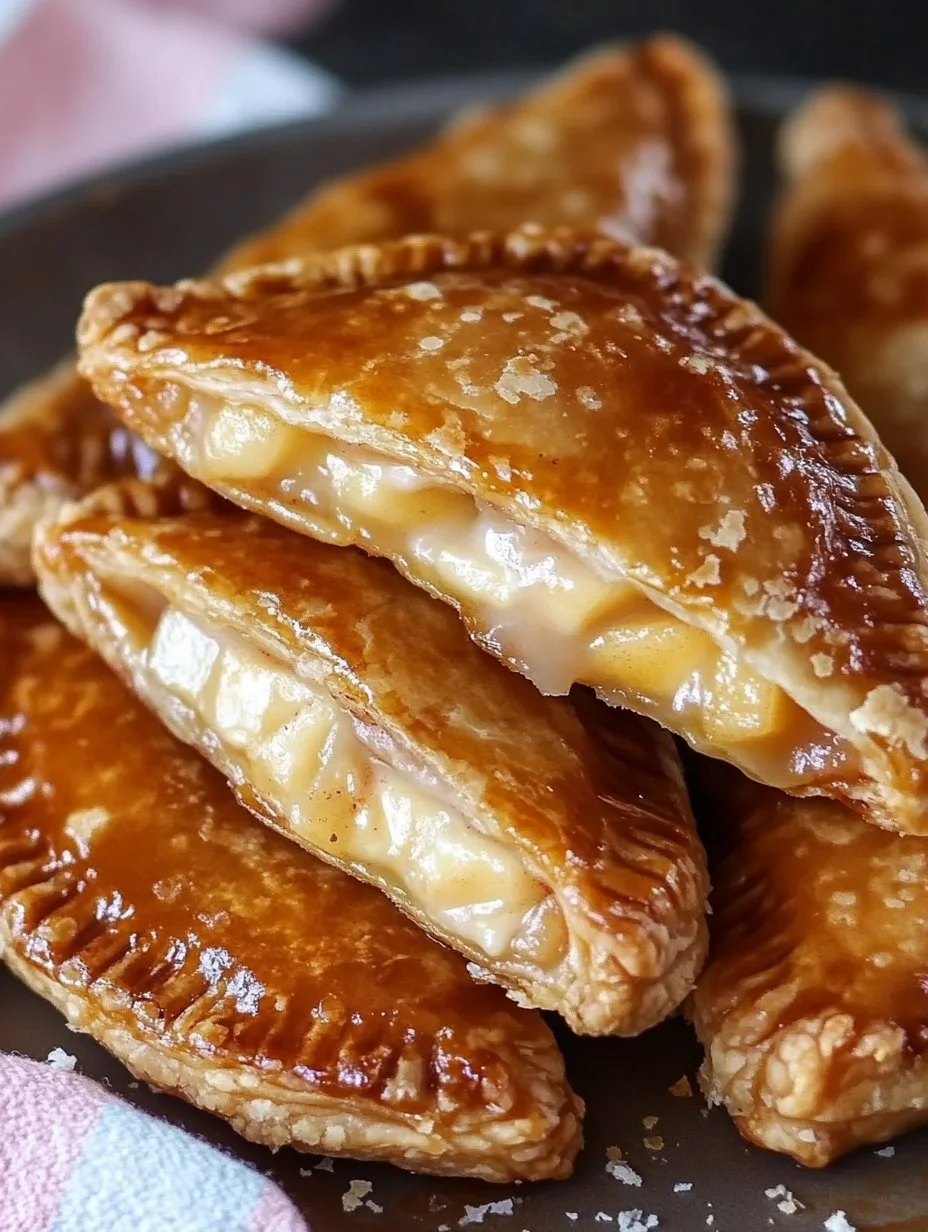
4. Fry the Pies: Heat oil in a deep skillet or pot to 350°F (175°C). Once the oil is ready, carefully place 2-3 pies into the hot oil at a time. Fry them for about 2-3 minutes per side until golden brown and crispy. Once done, remove them from the oil and place them on a plate lined with paper towels to drain any excess oil.
5. Prepare the Glaze: In a small mixing bowl, whisk together 1 cup of powdered sugar, 2-3 tablespoons of milk, and ½ teaspoon of vanilla extract until smooth and glossy. Once the fried pies have cooled slightly, drizzle or dip them into the glaze and allow it to set for a few minutes. Each pie now looks fantastic and is ready to be devoured!
How to Serve These Delectable Pies
These stuffed fried apple pies are truly versatile when it comes to serving. They can be enjoyed warm or at room temperature. For a delightful dessert presentation, try serving them on a platter with a side of vanilla ice cream or whipped cream. The creamy accompaniments balance the sweetness perfectly.
Consider pairing these pies with a hot cup of coffee, tea, or even a spiced cider for a cozy autumn treat. They’re perfect for occasions like birthday parties, Thanksgiving gatherings, or even a casual get-together with friends and family. Whatever the setting, these pies are sure to be a hit!
Tips for Storage and Reheating
If you find yourself with leftovers, you can store them in an airtight container in the fridge. They stay fresh for up to 3 days. To maintain their crispy texture, it’s best to reheat them in an air fryer or conventional oven at 350°F (175°C) for about 5-7 minutes.
Alternatively, you can use the microwave, but be aware that this method may make the crust a bit softer. If you want to freeze them, place the uncooked, sealed pies on a baking sheet to freeze before transferring them to a freezer bag or container. They can be fried straight from frozen, just add a minute or two to the cooking time.
Helpful Cooking Tips
To ensure your pies turn out perfectly, here are some pro tips:
- Make sure the pie crust is cold before assembling. This helps prevent the dough from becoming too sticky and makes it easier to work with.
- Keep an eye on your frying temperature! Too low and the pies will absorb oil, too high and they can burn.
- Don’t overfill the pies. Stick to the recommended amounts for the filling to ensure they seal properly and cook evenly.
- If your filling is too runny, let it cool longer to thicken up before using.
- Experiment with spices! A pinch of allspice or ginger can elevate the flavors even further.
Creative Variations to Try
Feel free to get creative with this recipe! Here are some easy and fun variations to consider:
- Switch up the fruit for a different flavor. Pears, peaches, or even berries can make fantastic fillings.
- Add nuts for a delightful crunch. Chopped pecans or walnuts can complement the apple flavor beautifully.
- If you want to skip the frying, try baking the pies in the oven at 400°F (200°C) for about 15-20 minutes or until golden.
- For extra spice, mix in some caramel sauce or a touch of maple syrup in the apple filling.
- Create a savory version by using a cheese like cheddar in place of cream cheese and omitting the sugar.
Frequently Asked Questions
Can I use store-bought apple pie filling?
Yes, you can definitely use store-bought apple pie filling to save time. Just make sure to enhance it with some cinnamon or nutmeg for added flavor.
What type of oil is best for frying?
Vegetable or canola oil works best as they have a high smoke point and neutral flavor. Avoid oils with strong flavors like olive oil.
Can I make the filling ahead of time?
Absolutely! You can prepare the apple and cheesecake fillings a day ahead and store them in the fridge, allowing for quicker assembly later.
How do I know when the pies are done frying?
The pies should be golden brown and have a crispy texture. Use a thermometer for accuracy, or test with a small piece of bread – it’ll brown quickly if the oil is at the right temperature.
Are these pies suitable for freezing?
Yes! Uncooked pies can be frozen for later frying. Just remember to thaw them in the fridge before cooking for best results.