Decadent Ube Oreo Cheesecake
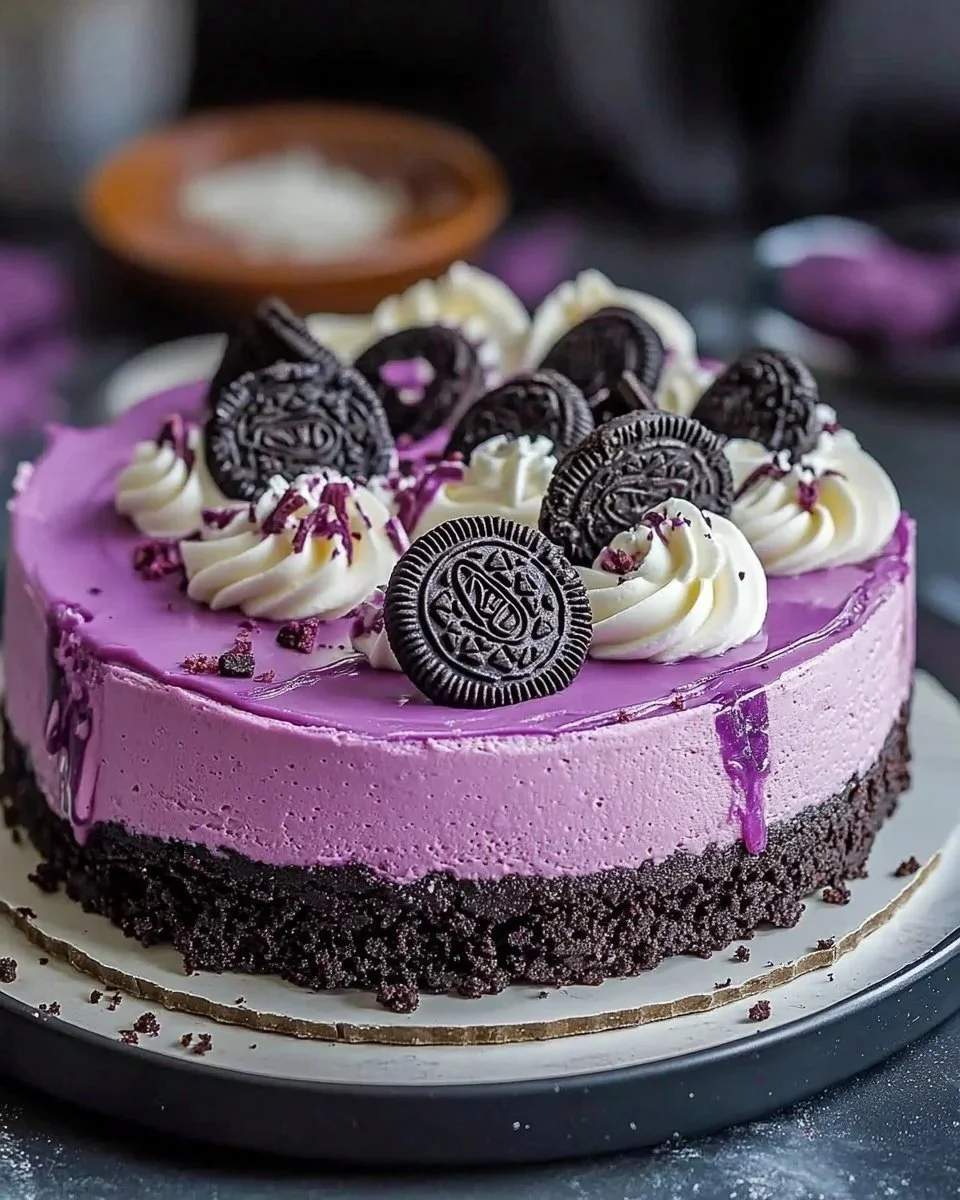
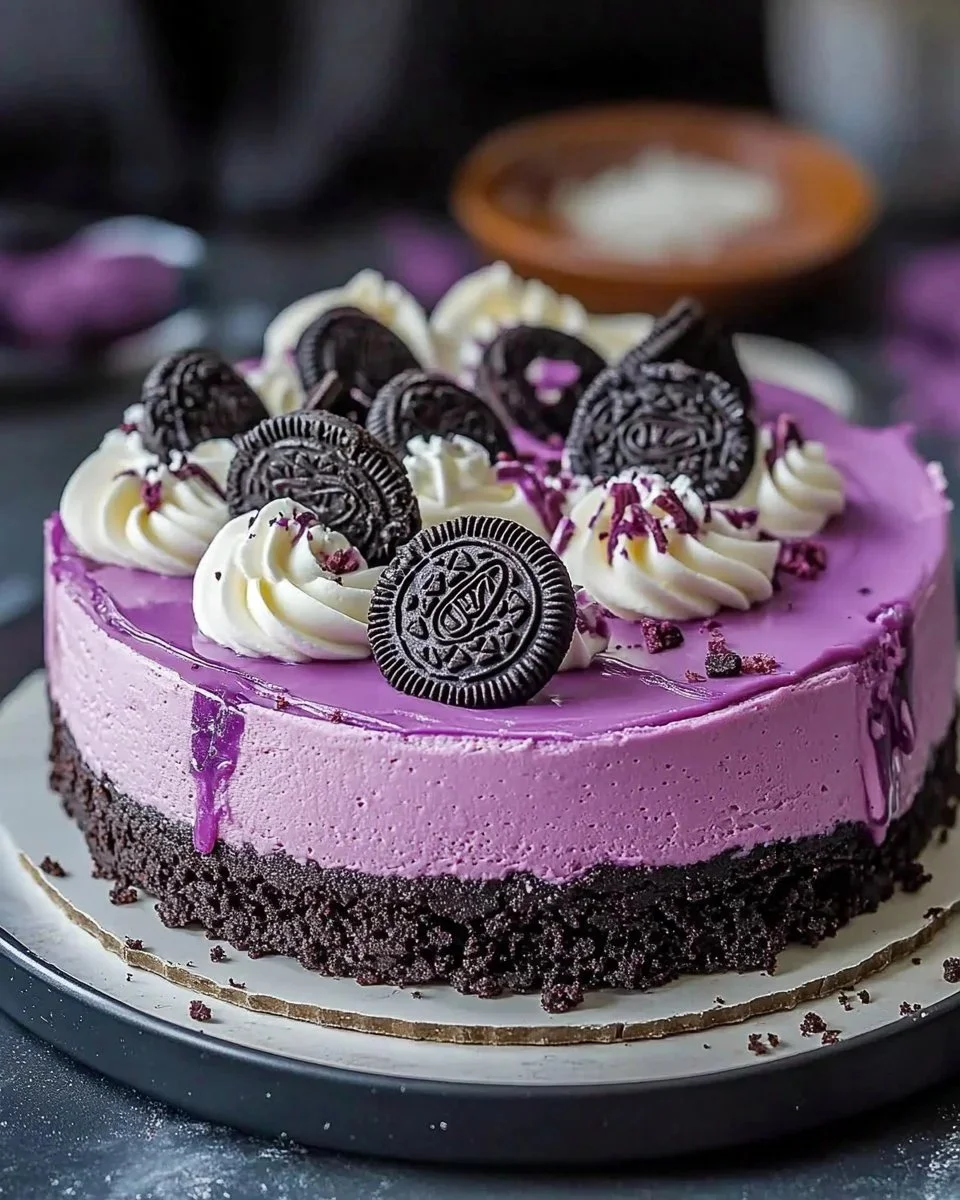
Imagine indulging in a dessert that perfectly blends the nostalgic taste of Oreos with the exotic flavors of ube. The Decadent Ube Oreo Cheesecake is a delightful fusion that not only pleases the palate but also presents beautifully. This cheesecake has a creamy, velvety texture with a rich purple hue, making it a showstopper for any occasion. Whether it’s a family gathering, a birthday celebration, or simply a sweet treat for yourself, this cheesecake is a must-try!
What Makes This Recipe So Good
This dessert stands out for several reasons. First and foremost, it’s surprisingly easy to make. Even if you’re not an experienced baker, the step-by-step instructions guide you through creating this masterpiece with confidence. Secondly, it’s a budget-friendly recipe that doesn’t require any extravagant ingredients beyond the standard grocery store fare. Lastly, the combination of Oreo cookies and ube gives a unique twist that is sure to impress your friends and family. This recipe truly captures the essence of indulgence while being attainable for everyone.
Overview of Cooking Process
Preparing the Ube Oreo Cheesecake is a straightforward process. You’ll start by creating a delicious Oreo crust that serves as the foundation for your cheesecake. The filling is where the magic happens, as you’ll blend cream cheese, ube halaya, and other key ingredients to achieve a smooth batter. Once the cake is assembled, it’ll bake in a water bath to ensure even cooking and a creamy texture. After chilling in the fridge, you’ll have a stunning dessert ready to be topped and served!
Ingredients
- Prep Time: 20 minutes
- Cook Time: 1 hour
- Total Time: 4 hours 20 minutes (including chilling)
- Servings: 10 servings
- 24 Oreo cookies (with filling)
- 5 tablespoons unsalted butter, melted
- 16 oz (2 blocks) cream cheese, softened
- 1 cup granulated sugar
- 1/2 cup ube halaya (ube jam)
- 1/4 cup ube extract
- 3 large eggs
- 1/2 cup sour cream
- 1 teaspoon vanilla extract
- 1/2 teaspoon salt
- 1/2 cup whipped cream
- Crushed Oreo cookies (for topping)
- White chocolate drizzle (optional)
The stars of this recipe are the Oreo cookies and ube halaya. The crushed Oreo serves as a flavorful crust, while the ube halaya brings a unique taste and vibrant color to the cheesecake. Ube extract amplifies the flavor profile, ensuring that every bite is aromatic and delicious.
Step-by-Step Instructions
Making the Decadent Ube Oreo Cheesecake involves several simple steps:
Step 1: Prepare the Oreo Crust. Start by preheating your oven to 325°F (163°C). Grease a 9-inch springform pan and line the bottom with parchment paper to prevent sticking. Next, crush the Oreo cookies into fine crumbs. You can use a food processor or place them in a zip-top bag and crush with a rolling pin. Once you have fine crumbs, mix them with the melted butter until well incorporated. Press the mixture firmly into the bottom of the prepared pan and bake for 10 minutes. Allow it to cool while you prepare the filling.
Step 2: Make the Ube Cheesecake Batter. In a large mixing bowl, beat the softened cream cheese and granulated sugar together until smooth and creamy. This usually takes about 3-5 minutes with a hand or stand mixer. Next, mix in the ube halaya and ube extract, followed by the sour cream, vanilla extract, and salt. Ensure everything is well combined before adding the eggs one at a time. Be cautious not to overmix the batter once the eggs are added, as this can introduce excess air and create cracks during baking.
Step 3: Bake the Cheesecake. Pour the creamy ube batter over the cooled Oreo crust. To prevent cracks, wrap the springform pan in aluminum foil and place it in a larger roasting pan. Fill the larger pan with hot water to create a water bath. This technique helps maintain moisture in the oven, preventing the cheesecake from drying out. Bake for 50-60 minutes, or until the edges are set and the center jiggles slightly when nudged. After baking, turn off the oven and crack the door open, allowing the cheesecake to cool slowly for an hour.
Step 4: Chill & Decorate. After cooling in the oven, transfer the cheesecake to the refrigerator. Refrigerate for at least 4 hours or overnight for the best flavor and texture. Before serving, whip up the cream and gently spread it over the top of the cheesecake. Sprinkle with crushed Oreo cookies and drizzle with white chocolate if desired.
Step 5: Slice & Enjoy! When you’re ready to serve, carefully run a knife around the edges of the springform pan before releasing the sides. Slice the cheesecake into even pieces and serve on dessert plates. Enjoy every creamy, delicious bite!
Delicious Serving Suggestions
This Decadent Ube Oreo Cheesecake is perfect on its own, but you can enhance your dessert experience with some creative serving ideas. Consider pairing it with:
- A scoop of vanilla or ube ice cream
- Fresh berries or a berry sauce for a fruity contrast
- A drizzle of caramel sauce for added sweetness
- A side of coffee or tea for a delightful after-dinner treat
- Serving it at birthday parties, potlucks, or family celebrations
The combination of flavors and textures makes every bite memorable, and your guests will be asking for seconds!
Storing Your Cheesecake
To ensure your cheesecake remains fresh, store it properly. If you have leftovers, cover the cheesecake with plastic wrap or aluminum foil and keep it in the refrigerator. It can last up to a week when stored properly. If you want to enjoy this dessert later, you can freeze the cheesecake. To do this, slice it into individual pieces and wrap each slice tightly with plastic wrap. Place them in an airtight container or a freezer-safe bag. Your cheesecake will be good for up to 3 months in the freezer. When you’re ready to enjoy, thaw it overnight in the refrigerator before serving.
Expert Tips for Cheesecake Success
Here are some expert tips to ensure your ube cheesecake comes out perfectly every time:
- Make sure your cream cheese is at room temperature before mixing. This ensures a smooth batter without lumps.
- Don’t skip the water bath method; this aids in even baking and prevents the top from cracking.
- Cool the cheesecake gradually to prevent sudden temperature changes, which can cause cracks.
- Use high-quality ube halaya for the best flavor and color.
- Experiment with the toppings! Add nuts, fruits, or different types of chocolate for variation.
By following these tips, you increase your chances of making a perfectly smooth and flavorful cheesecake.
Creative Variations to Try
If you’re looking to put your spin on this recipe, consider these variations:
- Swap regular Oreo cookies for double-stuffed for a richer cookie crust.
- Incorporate some coconut flakes in the cheesecake batter for an added texture and flavor.
- Use different flavored extracts, like almond or banana, instead of ube extract for a completely new taste.
- Add a layer of fruit preserves, like passion fruit or strawberry, between the crust and the cheesecake for a fruity twist.
These variations not only keep the recipe exciting but also allow you to customize it according to your preferences.
Frequently Asked Questions
Can I make this cheesecake ahead of time?
Absolutely! This cheesecake can be made a day or two in advance, which can save you time when hosting an event. Just be sure to store it properly in the refrigerator.
What can I substitute for ube halaya?
If you can’t find ube halaya, you can use pureed sweet potatoes or purple yams as a substitute, although the flavor will vary a bit.
Why does my cheesecake have cracks?
Cracks in cheesecake often result from rapid temperature changes or overmixing the batter. Always cool the cheesecake slowly, and use room temperature ingredients when mixing.
How do I prevent a soggy crust?
Ensure that you don’t skip baking the crust first. This allows it to firm up before adding the cheesecake batter, preventing it from becoming soggy.
Can I use a different kind of cookie for the crust?
Yes! If you’re feeling adventurous, you can try using graham crackers, vanilla wafers, or even chocolate chip cookies for a different flavor profile.